
Creating a new game
If you haven’t installed Aurora 4x yet, check out part 0.
From this point on, I’d recommend opening this guide on a second monitor (if you have one), otherwise you will have a lot of alt-tabbing.
Game Options
After launching the game, you’ll see a very bloated menu. For now, ignore everything and hit the settings button.
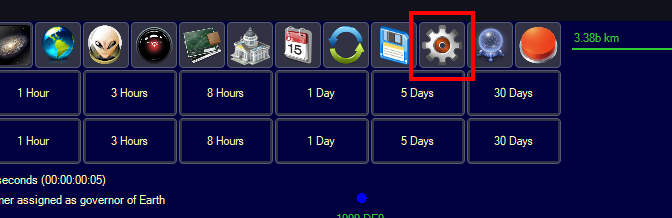 Image of settings icon.
I have a heavily customized windows theme installed so the borders of my buttons have blue tints rather than white boxes. It is not an Aurora 4x mod.
Once you click that, a new menu will pop up. Once again, ignore everything and hit New Game.
 Image of new game.
Then the menu will expand. First, you’ll want to change the Game Name. You can set this to whatever you want—it won’t effect game play. I’m setting the name to ‘Tutorial Game’.
For this playthrough, I’d recommend leaving everything set to default.
Optionally,
- You could slow down the research, terraforming, and survey speed if you’d like some extra time to understand the game.
- You could decrease the NPR (Non-Player Races) generation chances if you’d rather avoid aliens for the time being.
- You could increase the minimum and maximum NPR distance so you can expand your empire further before encountering aliens.
- If you’re feeling adventurous you could add Planet X to the Sol System (Google “Planet X” if you don’t know what it is).
But, I’ll be leaving them as default.
Then hit Create Game.
 Image of game information setup.
Race Options
Now, we’re almost done.
Do the following:
- Name your empire and homeworld.
- Race Title is really your empire’s name.
- Select your naming themes.
- System Theme is for solar systems.
- Class Theme is for ship classes.
- Rank Theme is for military rankings.
- Name Theme is for character names.
- Everything can also be renamed manually whenever you want in game.
- Select Conventional Empire.
- We’ll be using conventional empire because it helps slow down the introduction of features to make sure you don’t get overloaded.
- Select your race’s flag, portrait, ship hull, and station.
- These are just cosmetic and don’t have any effects in gameplay.
- Then you can go ahead and press Create Race, which will begin the game!
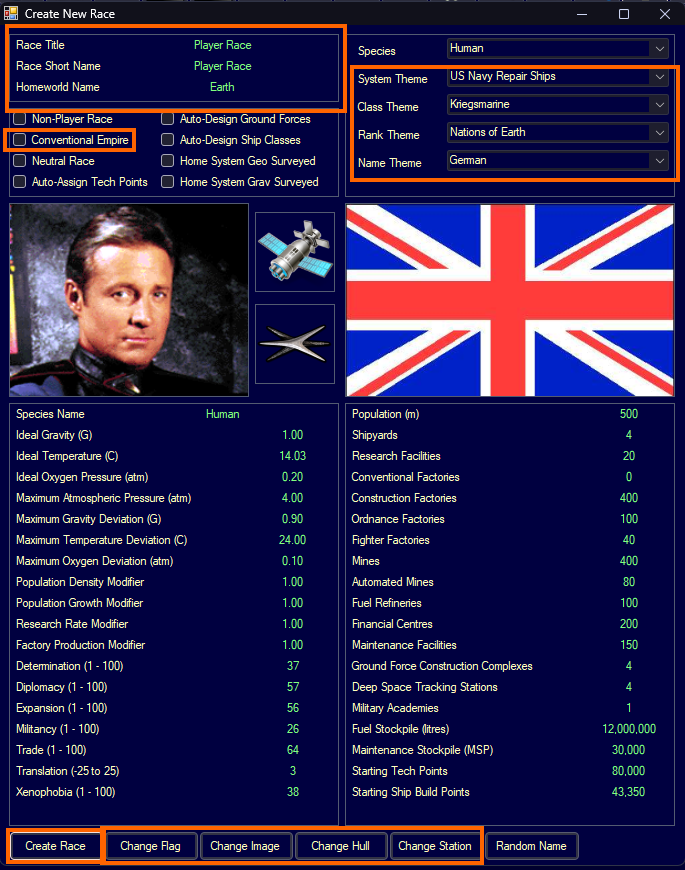 Image of race setup.
Display Settings
Now that you’re in the game, one thing I highly recommend is turning on Events in the Display options on the left side of the screen.
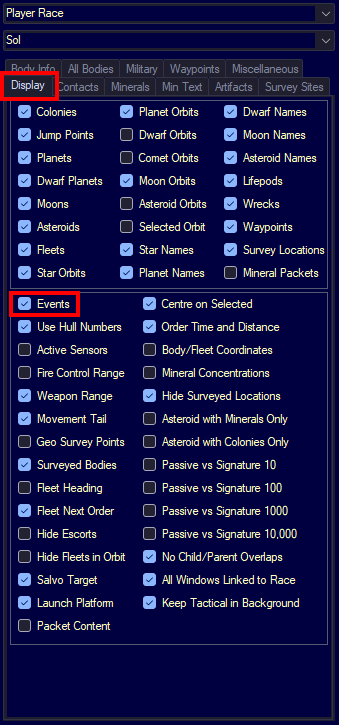 Image of toggling events in display tab.
This will display events right in the main game screen, making it easier to see what’s going on.
Then, if you have a second monitor, I would open the Events window and drag it over.
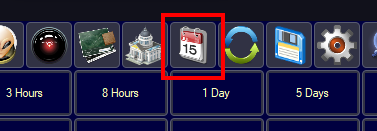 Image of opening events window.
Inside the events window you can also customize the colors. You can download my color preset here (being remade atm), or you can make your own as you play!
If you choose to use mine, you can enable it by following these steps:
Click on Import Colors.
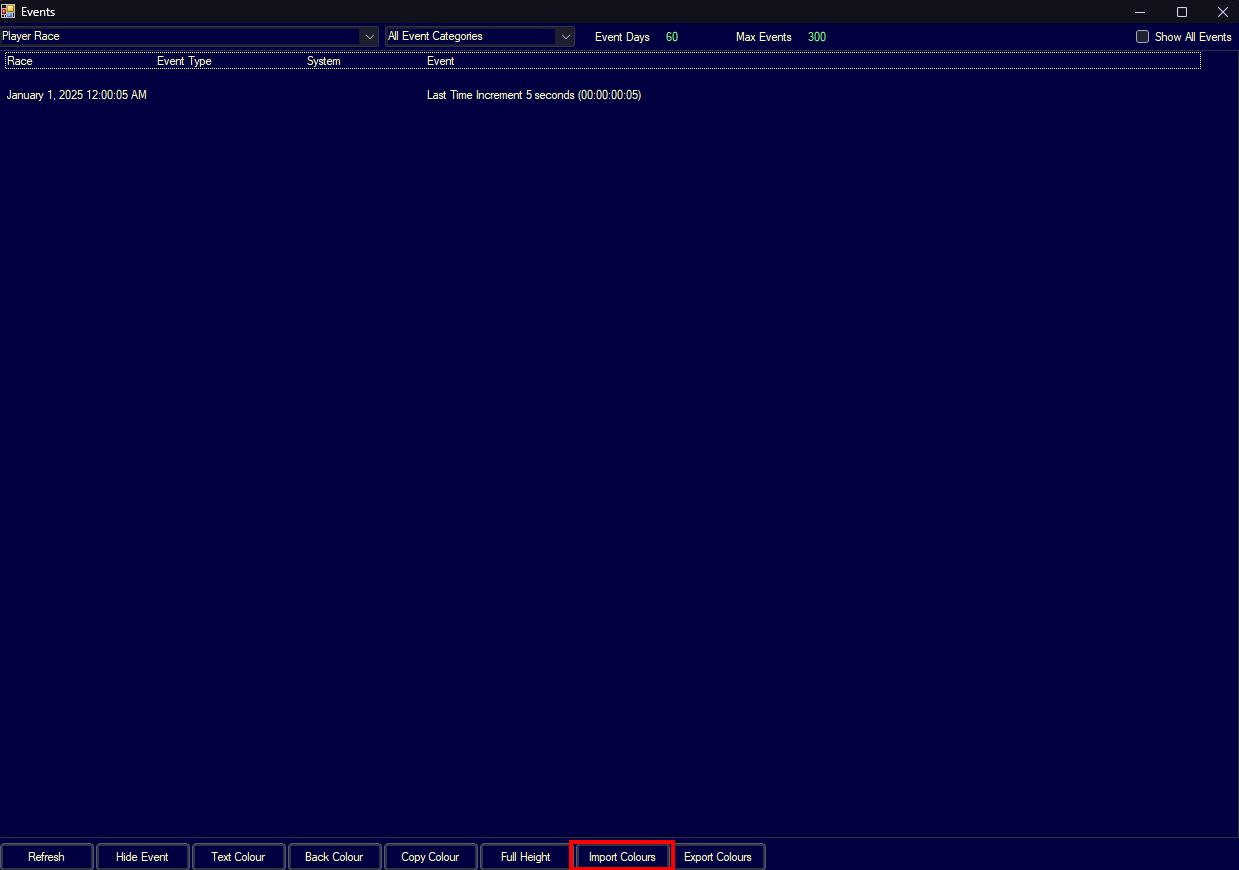 Image of importing colors.
Press OK in the popup.
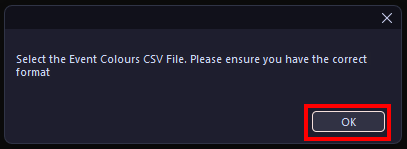 Image of accepting the popup.
Select the event_colors.csv file you just downloaded, and hit Open.
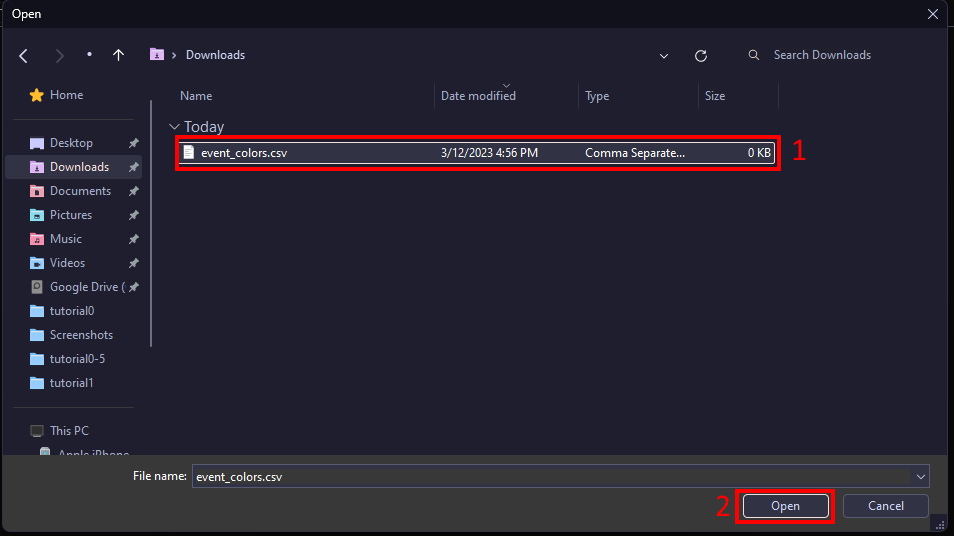 Image of selecting the event_colors.csv file.
Dont forget to save!
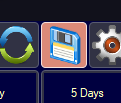 Image of saving.
Now, on to the next section where we’ll begin gameplay!